Changing strings on your electric guitar is one of those essential maintenance tasks that can seem intimidating at first but becomes second nature with practice. Fresh strings breathe new life into your instrument, improving tone, playability, and tuning stability—think brighter highs, better sustain, and that crisp response that makes every riff and chord pop. Whether you're dealing with worn-out strings that buzz or dull your sound, or you're just ready for a gauge upgrade to match your playing style, learning how to restring properly ensures your guitar stays in top condition. This guide walks you through the entire process step by step, from gathering tools to fine-tuning your setup. We'll cover everything for beginners and intermediates alike, with tips to avoid common pitfalls. By the end, you'll be restringing like a pro, ready to rock out with confidence. Let's get started!
Why Restring Your Electric Guitar?
Before diving into the how-to, let's talk about the why. Electric guitar strings wear out faster than you might think—typically every 1-3 months for regular players, depending on factors like sweat, playing intensity, and environment. Old strings lose their brightness, accumulate grime, and go flat easily, robbing your tone of its sparkle and making bends and vibrato feel sluggish. A fresh set restores that factory-fresh snap, enhances sustain for leads, and improves intonation across the fretboard.
Restringing also gives you a chance to inspect your guitar: clean the fretboard, check for fret wear, and adjust the truss rod if needed. Plus, it's therapeutic—many players find the ritual meditative, like tuning up before a big show. If you're upgrading gauges (thicker for heavier riffs, thinner for speed), note that it might require a setup tweak for optimal action and intonation. And for beginners, mastering this skill builds confidence and saves money on shop visits. Pro tip: Change strings before gigs or recordings to ensure peak performance.
Tools and Materials You'll Need
Gathering the right tools makes the job efficient and damage-free. Here's your starter kit:
-
New strings: Choose based on gauge (e.g., .009-.042 for light rock, .010-.046 for blues) and material (nickel-plated steel for warmth, stainless for brightness). A standard set costs $5-15.
-
Wire cutters: Essential for snipping old strings and excess ends safely.
-
String winder/peg turner: Speeds up unwinding old strings and winding new ones—manual or clip-on styles work great.
-
Tuner: Clip-on or pedal tuner for precise tuning post-install.
-
Cleaning supplies: Microfiber cloth, fretboard conditioner (lemon oil for rosewood/ebony), and polish for the body.
-
Optional extras: String action gauge, screwdriver for truss rod access, and a guitar stand or towel to protect the body.
Lay everything out on a clean workspace. Work in good light, and if you're restringing a floyd rose or locking tremolo-equipped guitar, you might need additional tools like an allen wrench— we'll touch on that later.
Step 1: Preparing Your Guitar
Safety first: Power down any connected amp to avoid accidental noise. Place your guitar on a soft towel or neck rest to prevent scratches—face up for stability.
Start by loosening all strings. Use the string winder on the tuning pegs, turning counterclockwise (lefty-loosey) until slack. Don't just clip them yet; loosening prevents neck tension changes that could warp the wood. Once loose, snip each string near the tuning peg with wire cutters for easy removal. Pull the strings out through the bridge— for through-body designs like Stratocasters, they'll come out the back; for top-loaders like Les Pauls, from the tailpiece.
With strings off, clean up! Wipe the body, pickguard, and hardware with a microfiber cloth. For the fretboard, remove any grime buildup—use a soft cloth dampened with fretboard conditioner, rubbing gently along the grain. Avoid over-oiling; a light coat suffices. This is also prime time to dust under the pickups and polish chrome parts. Your guitar should gleam like new.
Step 2: Removing Old Strings Completely
Fully remove the old strings to avoid tangles. After clipping at the headstock, uncoil the remnants from the pegs and pull them free from the bridge. Dispose responsibly—many music stores recycle strings, or repurpose them as winding for cable ties.
Inspect the bridge saddles and nut slots for wear; clean with a soft brush if gunky. For tremolo-equipped guitars, slacken the springs in the back cavity slightly if needed, but most setups hold fine without adjustment.
Step 3: Installing New Strings
Time for the fun part—stringing up! Work from the low E (thickest, 6th string) to high E (thinnest, 1st). Unpack your set carefully; strings are color-coded by gauge at the ball end.
Insert the ball end into the bridge hole. For rear-routed guitars, push through from the front until the ball seats against the plate. For top-loaders, drop into the tailpiece slot. Pull the string taut toward the headstock, keeping it straight to avoid kinks.
At the headstock, feed the straight end through the tuning peg hole. Leave 2-3 inches of slack for winding—too little, and it slips; too much, and you waste string. For slotted posts, lay the string in the slot and bend it 90 degrees over the post. For hole posts (common on electrics), thread through and secure with a slight bend or lock twist.
Step 4: Winding the Strings
Secure the string by winding clockwise (righty-tighty) on the peg. Aim for 2-3 wraps on the post for stability—use the winder to speed this up. Tune roughly to pitch as you go; detune slightly if it slips.
A pro technique: Bend the string end sharply upward after threading, then wind over it to "lock" it in place. This prevents slippage during aggressive playing. For the low E, wind toward the inside of the headstock; for high E, toward the outside—this keeps wraps even and reduces overhang.
Repeat for each string, tuning to pitch intermittently. As you add tension, the neck may bow slightly—don't worry; stretching evens it out.
Step 5: Stretching and Tuning
New strings stretch! After initial tuning, pull each string up and down gently (2-3 inches) from nut to bridge, in segments, to seat them. Retune after each stretch—expect 3-4 cycles until stable.
Tune to standard E-A-D-G-B-E using your tuner. Clip excess string ends at the pegs, leaving 1/4 inch for emergencies. For tremolo guitars, balance spring tension: If the trem floats too high/low, access the back cavity and adjust claw screws.
Step 6: Final Setup and Intonation Check
Let your guitar settle for 24 hours—strings will detune naturally. Retune daily for a week. Check intonation: Play the 12th fret harmonic vs. fretted note on each string; adjust saddle forward/back if sharp/flat.
If action feels off, tweak truss rod (clockwise for more relief) or saddle height. A full setup every few months keeps everything dialed.
Common Mistakes to Avoid
-
Over-tightening pegs: Can strip gears—snug is enough.
-
Kinking strings: Handle gently; kinks cause breakage.
-
Ignoring tremolo balance: Leads to tuning woes on whammy-equipped axes.
-
Skipping cleanup: Grime builds up fast—clean every restring.
-
Wrong gauge without setup: Thicker strings raise action; plan accordingly.
Tips for Different Electric Guitar Types
Strat-style (tremolo): Loosen springs for easier string changes; use a trem arm block if floating. Les Paul (Tune-O-Matic): Top-load simplicity, but watch for sharp tailpiece edges—file if needed. Superstrat (locking tuners): Release locks first; restring one at a time to maintain tension.
Why Choose the Tostar TST-130 for Easy Restringing?
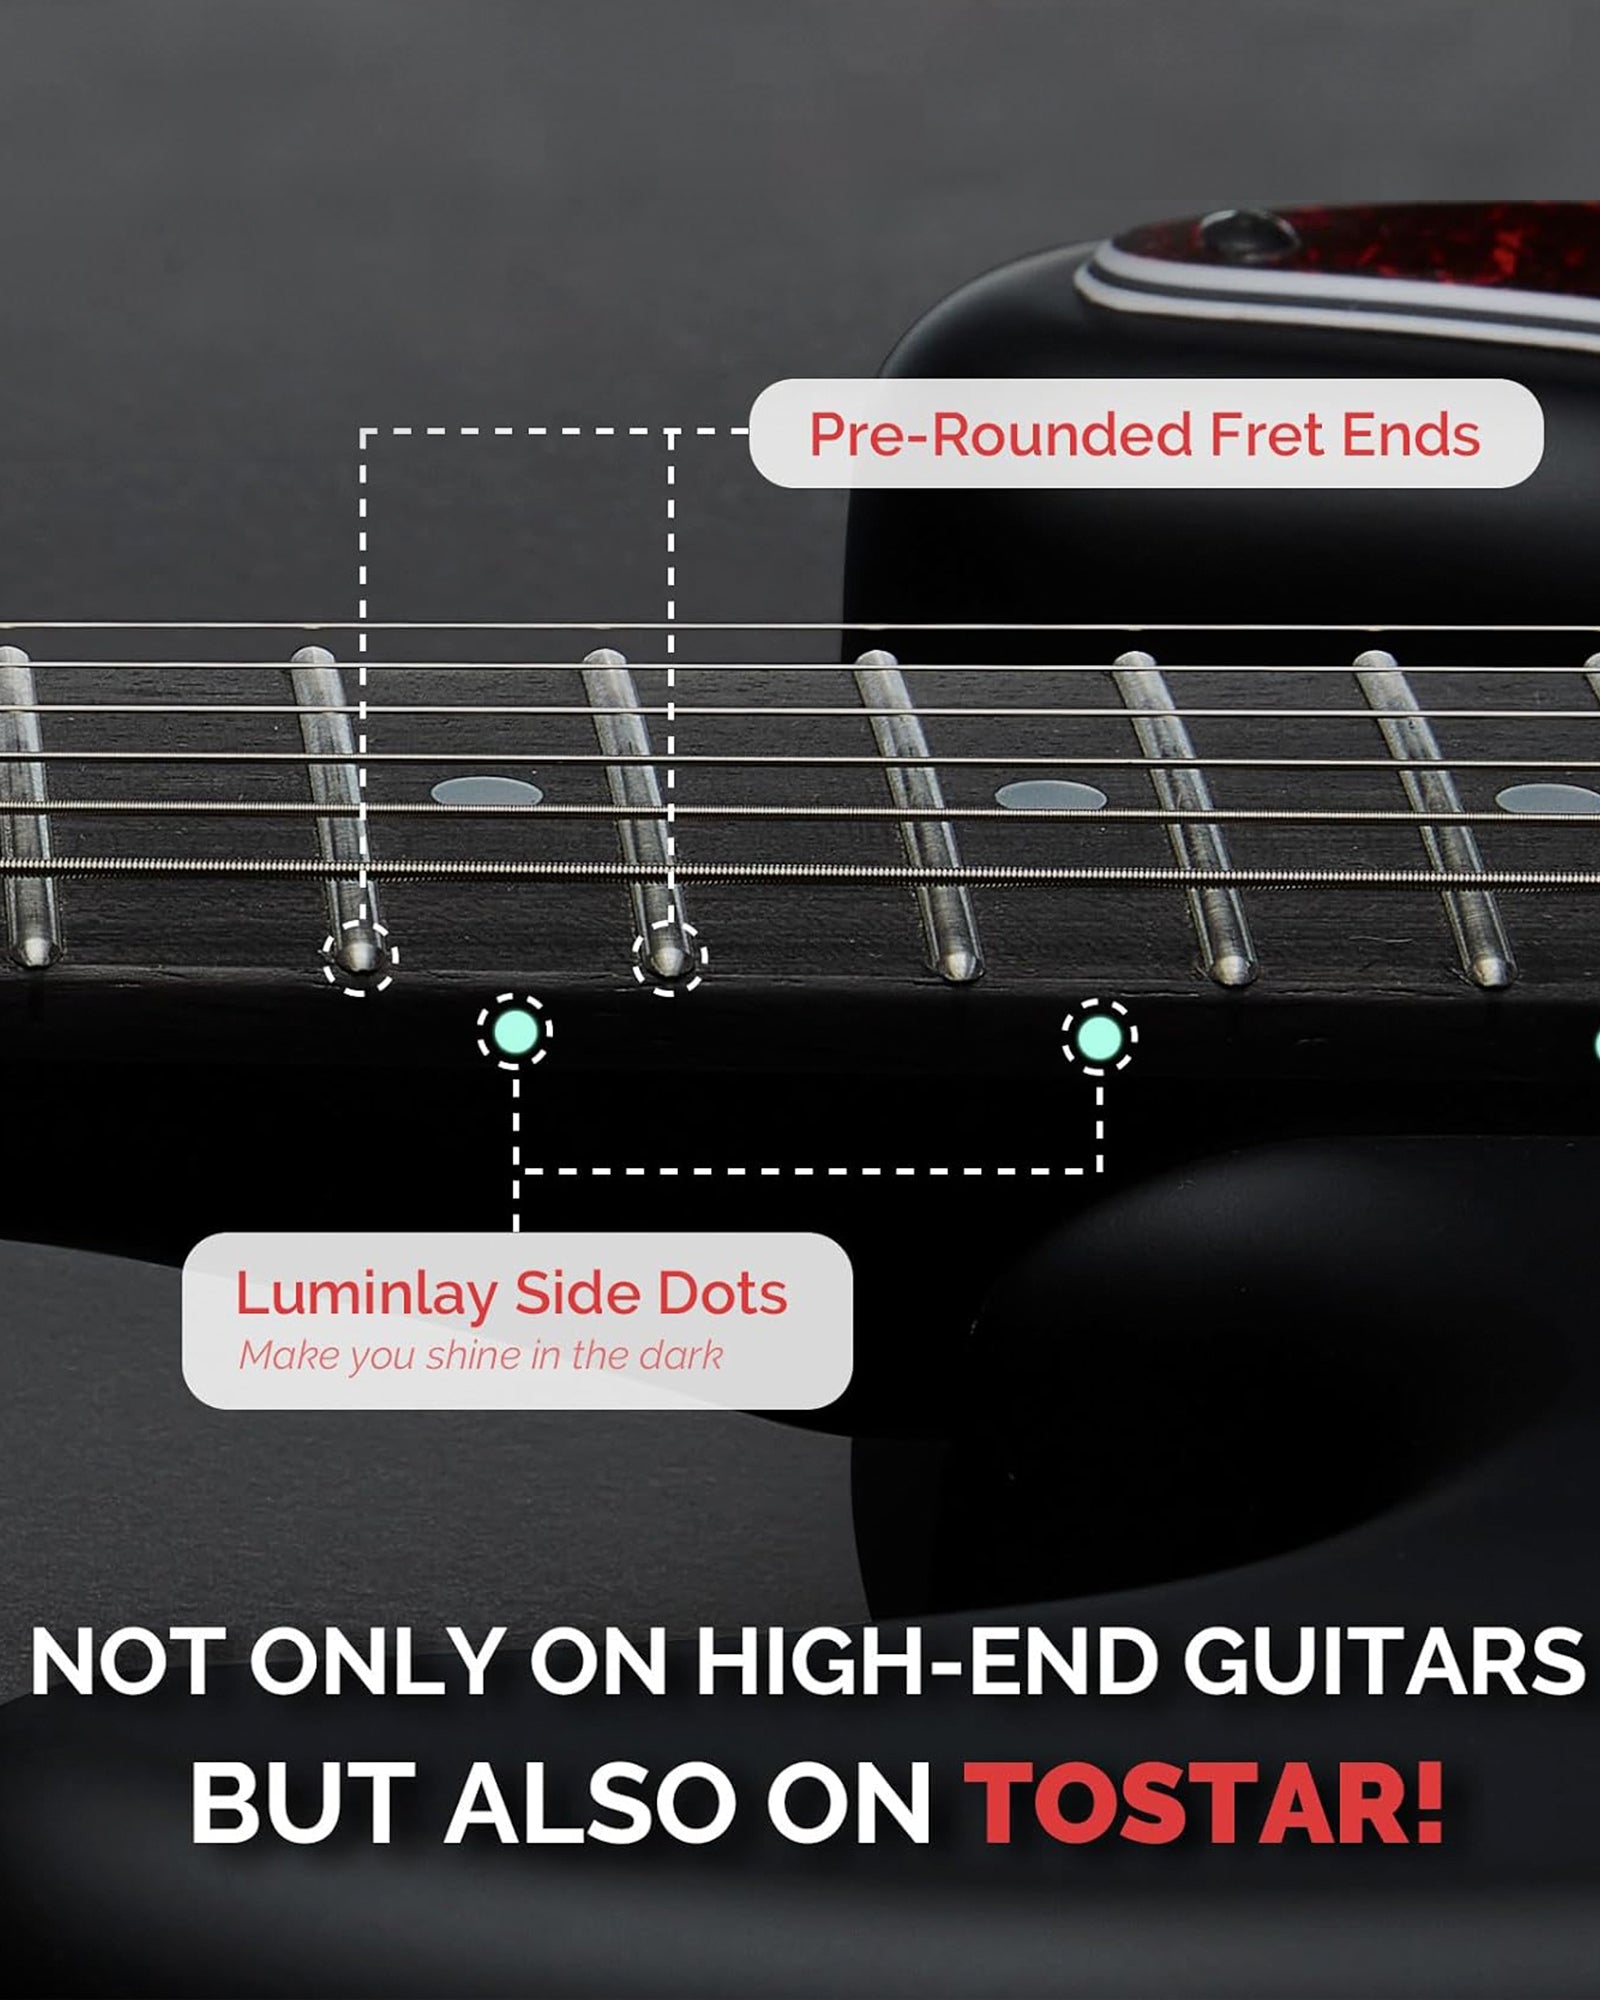
For beginners tackling their first restring, the TOSTAR TST-130 Electric Guitar Kit stands out with user-friendly features that simplify the process. Its 39-inch solid body with premium poplar construction and SSS pickups delivers versatile tones, but the real gem is the high-quality sealed tuners and tremolo bridge—smooth winding and rock-solid stability mean fewer detunes during stretching. The ergonomic C-shaped maple neck with laurel fretboard feels great in hand, reducing fatigue while you work. Plus, the kit includes extra strings, so you're set from day one. Weighing just right at around 13 pounds, it's stable on your lap without slipping. Priced affordably, the TST-130 is perfect for learning maintenance alongside playing. Check it out: Tostar TST-130

Maintenance Beyond Restringing
Restringing is routine—pair it with monthly checks: Clean pots/switches with contact cleaner, tighten hardware, and store in a case away from humidity. Invest in a hygrometer for climate control.
Conclusion
Restringing your electric guitar is a rite of passage that sharpens your instrument and skills. From loosening old strings to stretching new ones, each step builds familiarity and pride in your gear. With practice, you'll cut restring time in half and experiment with gauges confidently. Grab your tools, fresh strings, and dive in—your guitar will thank you with renewed sparkle. Happy restringing, and keep the music flowing!


How to Play a G Minor Chord on Guitar: A Step-by-Step Guide
How to Remember Guitar String Order & Names: A Beginner’s Guide